Land Rover Discovery: Wiper Pivot Arm (G1780362) / Removal and Installation
Land Rover Discovery (2009–2016) Service Manual / Body / Wipers and washers / Wiper Pivot Arm (G1780362) / Removal and Installation
REMOVAL
NOTES:
- Removal steps in this procedure may contain installation details.
- LHD illustration shown, RHD is similar.
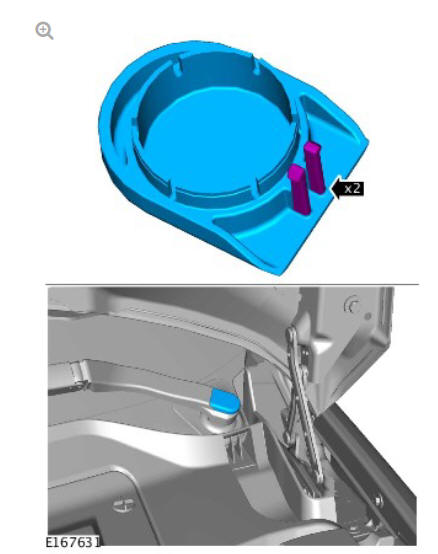
CAUTION:
Note the installed position of the component prior to removal.

Torque: 25 Nm
NOTE:
Do not disassemble further if the component is removed for access only.
INSTALLATION
To install, reverse the removal procedure.
READ NEXT:
 Wipers and Washers
COMPONENT LOCATION
Central Junction Box (CJB)
Rain/light sensor
Rear Junction Box (RJB)
Rear window wiper motor
Rear window washer jet
Instrument Cluster (IC)
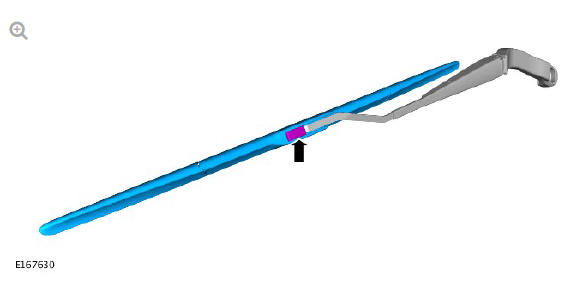
Windshield wiper motor and link
Windshield Wiper Motor and Linkage Assembly - Description
Windshield Wiper Motor
NOTE:
Right Hand Drive (RHD) wiper assembly shown
Electrical connector
Electric windshield wiper motor
The windshield wiper motor comprises a 12V electric motor and gear w
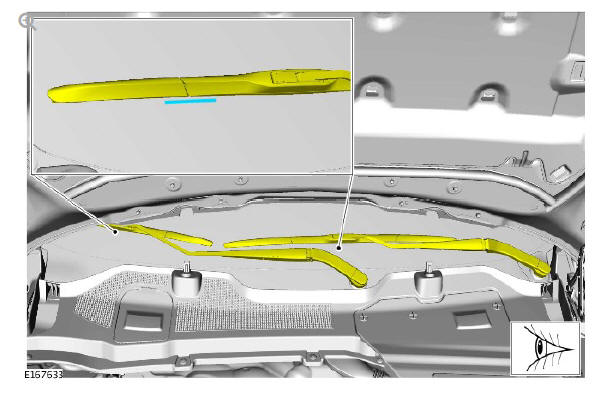
Rear Window Wiper and Motor - Description
Rubber mounting (3 off)
Pivot
Motor assembly
Electrical connector
The single speed rear window wiper motor is mounted on the inner panel of
the tailgate and is secured with three bolts. Three
SEE MORE:
Glow Plug System - Ingenium i4 2.0l Diesel / Description and Operation
COMPONENT LOCATION
Glow plug warning indicator
Engine Control Module (ECM)
Glow plug control module
Glow Plugs (4 off)
OVERVIEW
A glow plug is installed in the inlet side of each cylinder to heat the
combustion chambers before and during cranking. This helps cold starting
and reduces emissio
Fuel Flap Latch
Fuel flap release motor
Fuel flap
Fuel flap housing
Locking pin
Connecting rod
The fuel flap latch is a motor operated latch housed within the fuel flap
assembly which locks the fuel flap in the closed position.
The fuel flap is electrically locked and unlocked with a fuel flap release
mot
© 2019-2026 Copyright www.lrdisc.com
