Land Rover Discovery: Body Closures Power Liftgate Switch (G1889733) / Removal and Installation
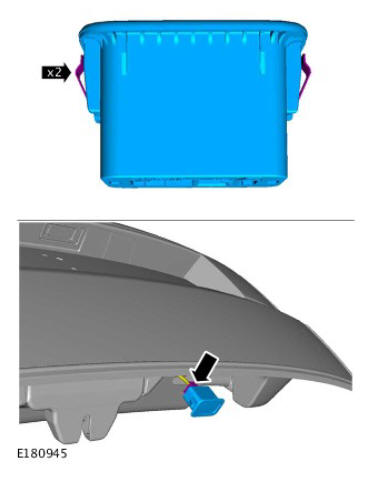
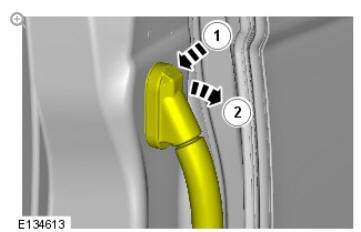
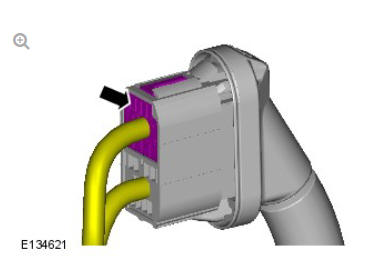
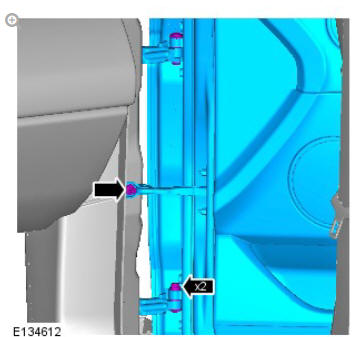
REMOVAL
NOTE:
Removal steps in this procedure may contain installation details.
CAUTION:
Make sure to protect the paintwork.
NOTE:
Make sure only a suitable plastic tool is used.
INSTALLATION
- To install, reverse the removal procedure.
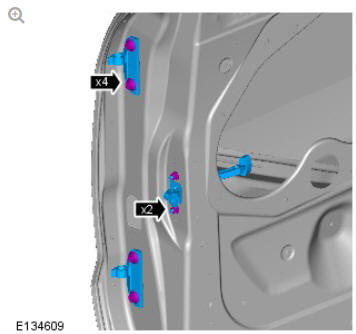
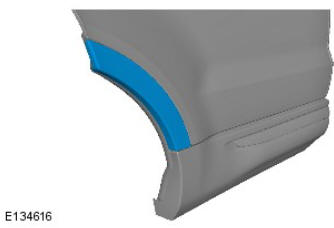
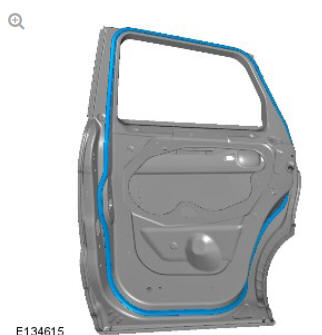
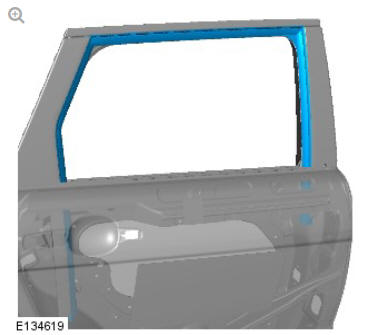
Body closures rear door (G1785718) removal and installation
REMOVAL
NOTE:
Removal steps in this procedure may contain installation details.
- Disconnect the battery ground cable.
Refer to: Specifications (414-01, Specifications).

CAUTION:
Make sure the upper and lower hinge bolts are replaced.
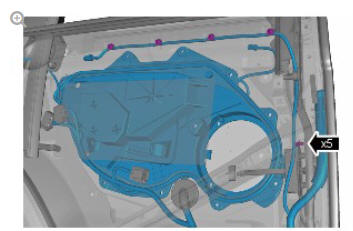
NOTES:
- Do not disassemble further if the component is removed for access only.
- This step requires the aid of another technician.
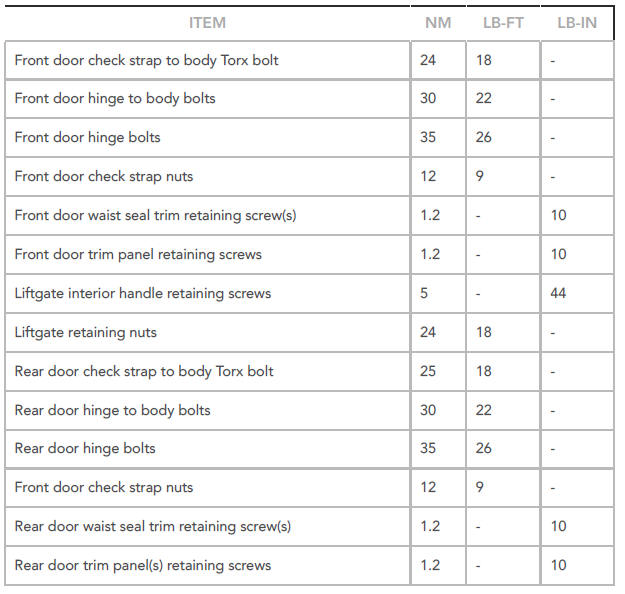
Torque:
Torx 25 Nm
Bolt 30 Nm
Refer to: Rear Door Window Regulator and Motor (501-11, Removal and Installation).
Refer to: Rear Door Latch (501-14, Removal and Installation).
Torque:
Bolt 35 Nm
Nut 12 Nm
CAUTION:
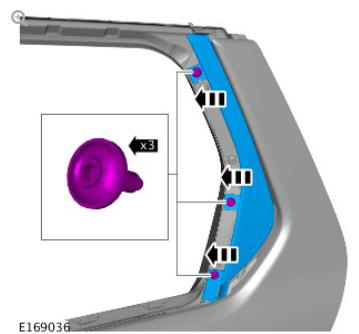
Take extra care not to damage the wiring harnesses.
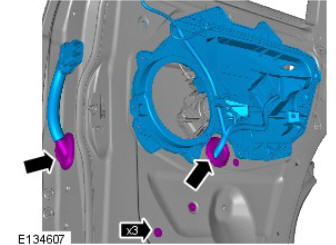


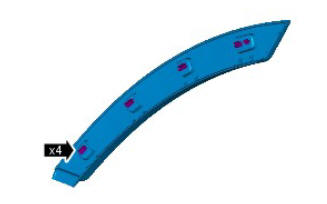
Torque: 5 Nm
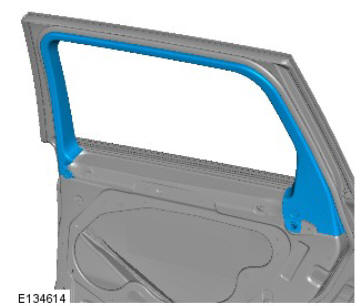
INSTALLATION
- To install, reverse the removal procedure.
Body closures specifications
Torque Specifications
READ NEXT:
 Vehicle Specific Information and
Tolerance Checks
Vehicle Specific Information and
Tolerance Checks
FRONT END BODY DIMENSIONS
NOTES:
All dimensions shown are in millimetres (mm).
Dimensions shown to holes, are always taken from/to the hole
centre. They are also always to the body panel surface,
Vehicle Specific Information and
Tolerance Checks
Tailgate Alignment
ADJUSTMENT
NOTE:
Some variation in the illustrations may occur, but the essential
information is always correct.
With the liftgate closed, check the alignment of the liftgate to the
roof panel and b
SEE MORE:
Fuel Tank and Lines - Ingenium i4 2.0l Diesel / Description and Operation
COMPONENT LOCATION - SHEET 1 OF 2
Fuel filler pipe connection
Fuel pump module
Fuel tank breather pipe
Vent tube
Support bracket
Fuel level sensor - 'B'
Fuel level sensor - 'A'
Line - fuel supply from Fuel Fired Booster Heater (FFBH) fuel pump (if
equipped)
Line - fuel return
Line - fu
Rear Drive Halfshafts
Outer Constant
Velocity Joint
Boot (G1791657) Removal
Removal
CAUTION:
The outer CV joint and the rear halfshaft are serviced together and
must not be separated. The inner joint and boot have to be removed
to allow the outer joint boot to be replaced.
NOTE:
Some variation in the illustrations may occur, but the essential
information is always correct.
